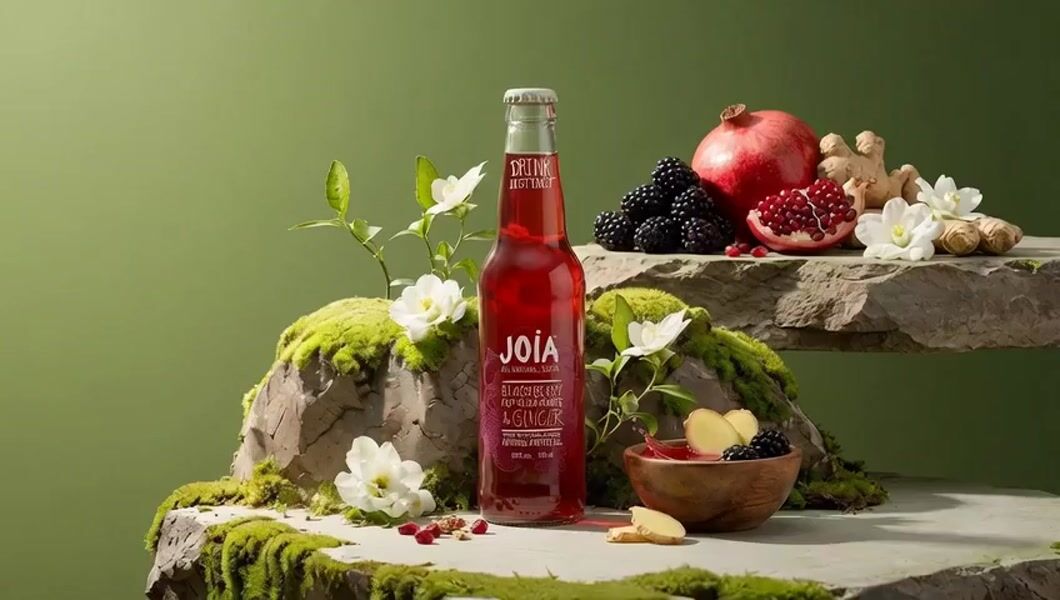
Node-based composition
Plan each generation step as a visible node, then connect prompts, assets, motion, and final renders into one reusable graph.
PhotoGPT use case
Generate reusable brand visuals using PhotoGPT Flow: upload product and brand assets, create on-brand first frames, and turn them into polished product videos that stay consistent across a campaign.
References
This workflow combines the source assets, prompts, and mid outputs needed to produce the on-brand visual output.
Inputs and progress
Source assets and intermediate results used before the on-brand visual output is finalized.
Final output
Go to workflowThe final generated brand video is playable here. Click the preview to play or pause.
Every model choice, prompt and output stays on one visual canvas, from the first input to the finished result.
Add your product, ingredient, and brand reference images to the workflow.
Define the color, lighting, materials, and campaign mood, then create first-frame scenes that match the brand direc...
Use the prepared first frames to generate polished product videos that stay consistent with the brand look.
Plan each generation step as a visible node, then connect prompts, assets, motion, and final renders into one reusable graph.
Mix image and video models in the same canvas, compare branches, and route the strongest output into the next step.
Preview the exact public workflow, clone it into your account, and replace the starting assets while keeping the structure intact.
Turn product and brand references into cohesive first frames, campaign visuals, and product videos that share the same color, lighting, and material direction.
Swap the starting assets while keeping the structure intact, so every campaign can reuse the same logic for first frames, mood direction, and video-ready visuals.
A few rules that make the campaign graph easier to build and run.
Consistent source material helps the workflow maintain the brand system.
These details make the outputs feel like one connected campaign instead of isolated images.
Video outputs are stronger when the first frame already matches the brand look.
On Brand Visuals. Turn product and brand assets into a reusable graph for consistent campaign visuals.
UGC Video Creator. Turn a creator concept into social-ready scenes, hooks, and short-form video variations.
Brand Advertisement Campaign. Connect products, props, model references, and final shots into one campaign pipeline.
B-Roll Generation. Plan cinematic product shots, first frames, and motion-ready outputs on one canvas.
Magazine Posters. Compose repeatable creative systems for poster layouts, art direction, and campaign assets.
LinkedIn Profile Polish. Create polished profile photos while keeping inputs, prompts, and outputs traceable.
On Brand Visuals. Generate product-led visuals that carry the same brand system across every output.
Spilled Matcha Trend. Prepare first-frame assets and motion prompts before sending the best branch into video.
Outfit Visualization. Create image variations from a subject reference and style request without losing context.
Thank you for taking the time to explore this workflow guide.
PhotoGPT Flow is designed to make on brand visuals easier to understand, reuse, and customize — from the first input node to the final export-ready result.
We truly value your feedback. If you have any thoughts, questions, or ideas, please share them with us — we are always listening, and solving real problems is our priority.
If you'd like to go further, you're warmly invited to join our Discord community. There, you can explore workflow templates, see community builds, and share your voice directly with our team and other creators.
— Yun
Content Team Lead
Promotion Code
CREATORS10
10% Discount on All Plans
Generate, edit, upscale, and animate high-quality visuals from one AI creator studio.
Get Started Free